Table of contents
- What is Git? 🤔
- What is GitHub? 🧐
- Pre-requisites ➡
- Getting Started with Terminal Commands ❝
- Important Git Commands ✧
- Working and contributing to existing projects on GitHub 🪴
- Creating a project from scratch 🌱
- Branches 🌵
- Merge Conflicts and Squash Commits 🛠️
- Fetching and Pulling ⚓️
- Level up Your Coding Game: Keep Calm and Commit On! 💯
If you're a software developer or someone working with code, you've probably heard of Git and GitHub. These tools are essential for managing source code, tracking changes, and collaborating with others. In this quick reference guide, we'll cover the basics of Git and GitHub, along with some essential commands and workflows to help you get started! 🚀
What is Git? 🤔
Git is a distributed version control system that helps you track changes to your code over time. It allows multiple developers to work on a project simultaneously, keeping track of who made what changes and when. With Git, you can create branches to work on new features or bug fixes without affecting the main codebase. It provides a robust set of commands to manage your source code history effectively.
Learning Git is an essential step when embarking on your tech journey. 🚦 Virtually all companies rely on version control systems like Git to effectively manage their code bases, enabling seamless collaboration, tracking changes, and ensuring the integrity of projects.
What is GitHub? 🧐
Git and GitHub are often mistaken as interchangeable terms, but they are distinct tools with different functionalities. It's crucial for developers to understand the difference between them. Let's clear up the confusion once and for all! 🙅♀️
GitHub is a code hosting platform built around Git. It provides a web-based interface to manage Git repositories and facilitates collaboration among developers. GitHub allows you to host your Git repositories online, making it easy to share code with others, contribute to open-source projects, and collaborate on team projects.
Pre-requisites ➡
Before diving into Git and GitHub, ensure you have Git installed on your system. If not, download it from the git-scm website.

While Graphical User Interface (GUI) clients are available, using the command-line interface is recommended for better control and flexibility.
Getting Started with Terminal Commands ❝
A command-line terminal is a powerful tool for manipulating the file structure of your system. Here are a few essential commands that will come in handy when working with Git:
ls: List all files and folders in the current directory.mkdir folder_name: Create a new directory with the specified folder name.cd folder_name: Change the directory to the selected folder.
Important Git Commands ✧
Now let's explore some fundamental Git commands that will help you manage your source code effectively:
git init: Initialize an empty Git repository in your project directory.git status: Check the status of your repository, including the changes added to the staging area.git add .: Add all untracked files in the current directory to the staging area.git commit -m "commit message": Commit the changes in the staging area with a descriptive commit message.git log: View the commit history of your repository.git restore --staged file_name: Unstage a file and revert it back to an untracked state.
Working and contributing to existing projects on GitHub 🪴
If you're working on an existing project hosted on GitHub, here's a workflow you can follow:
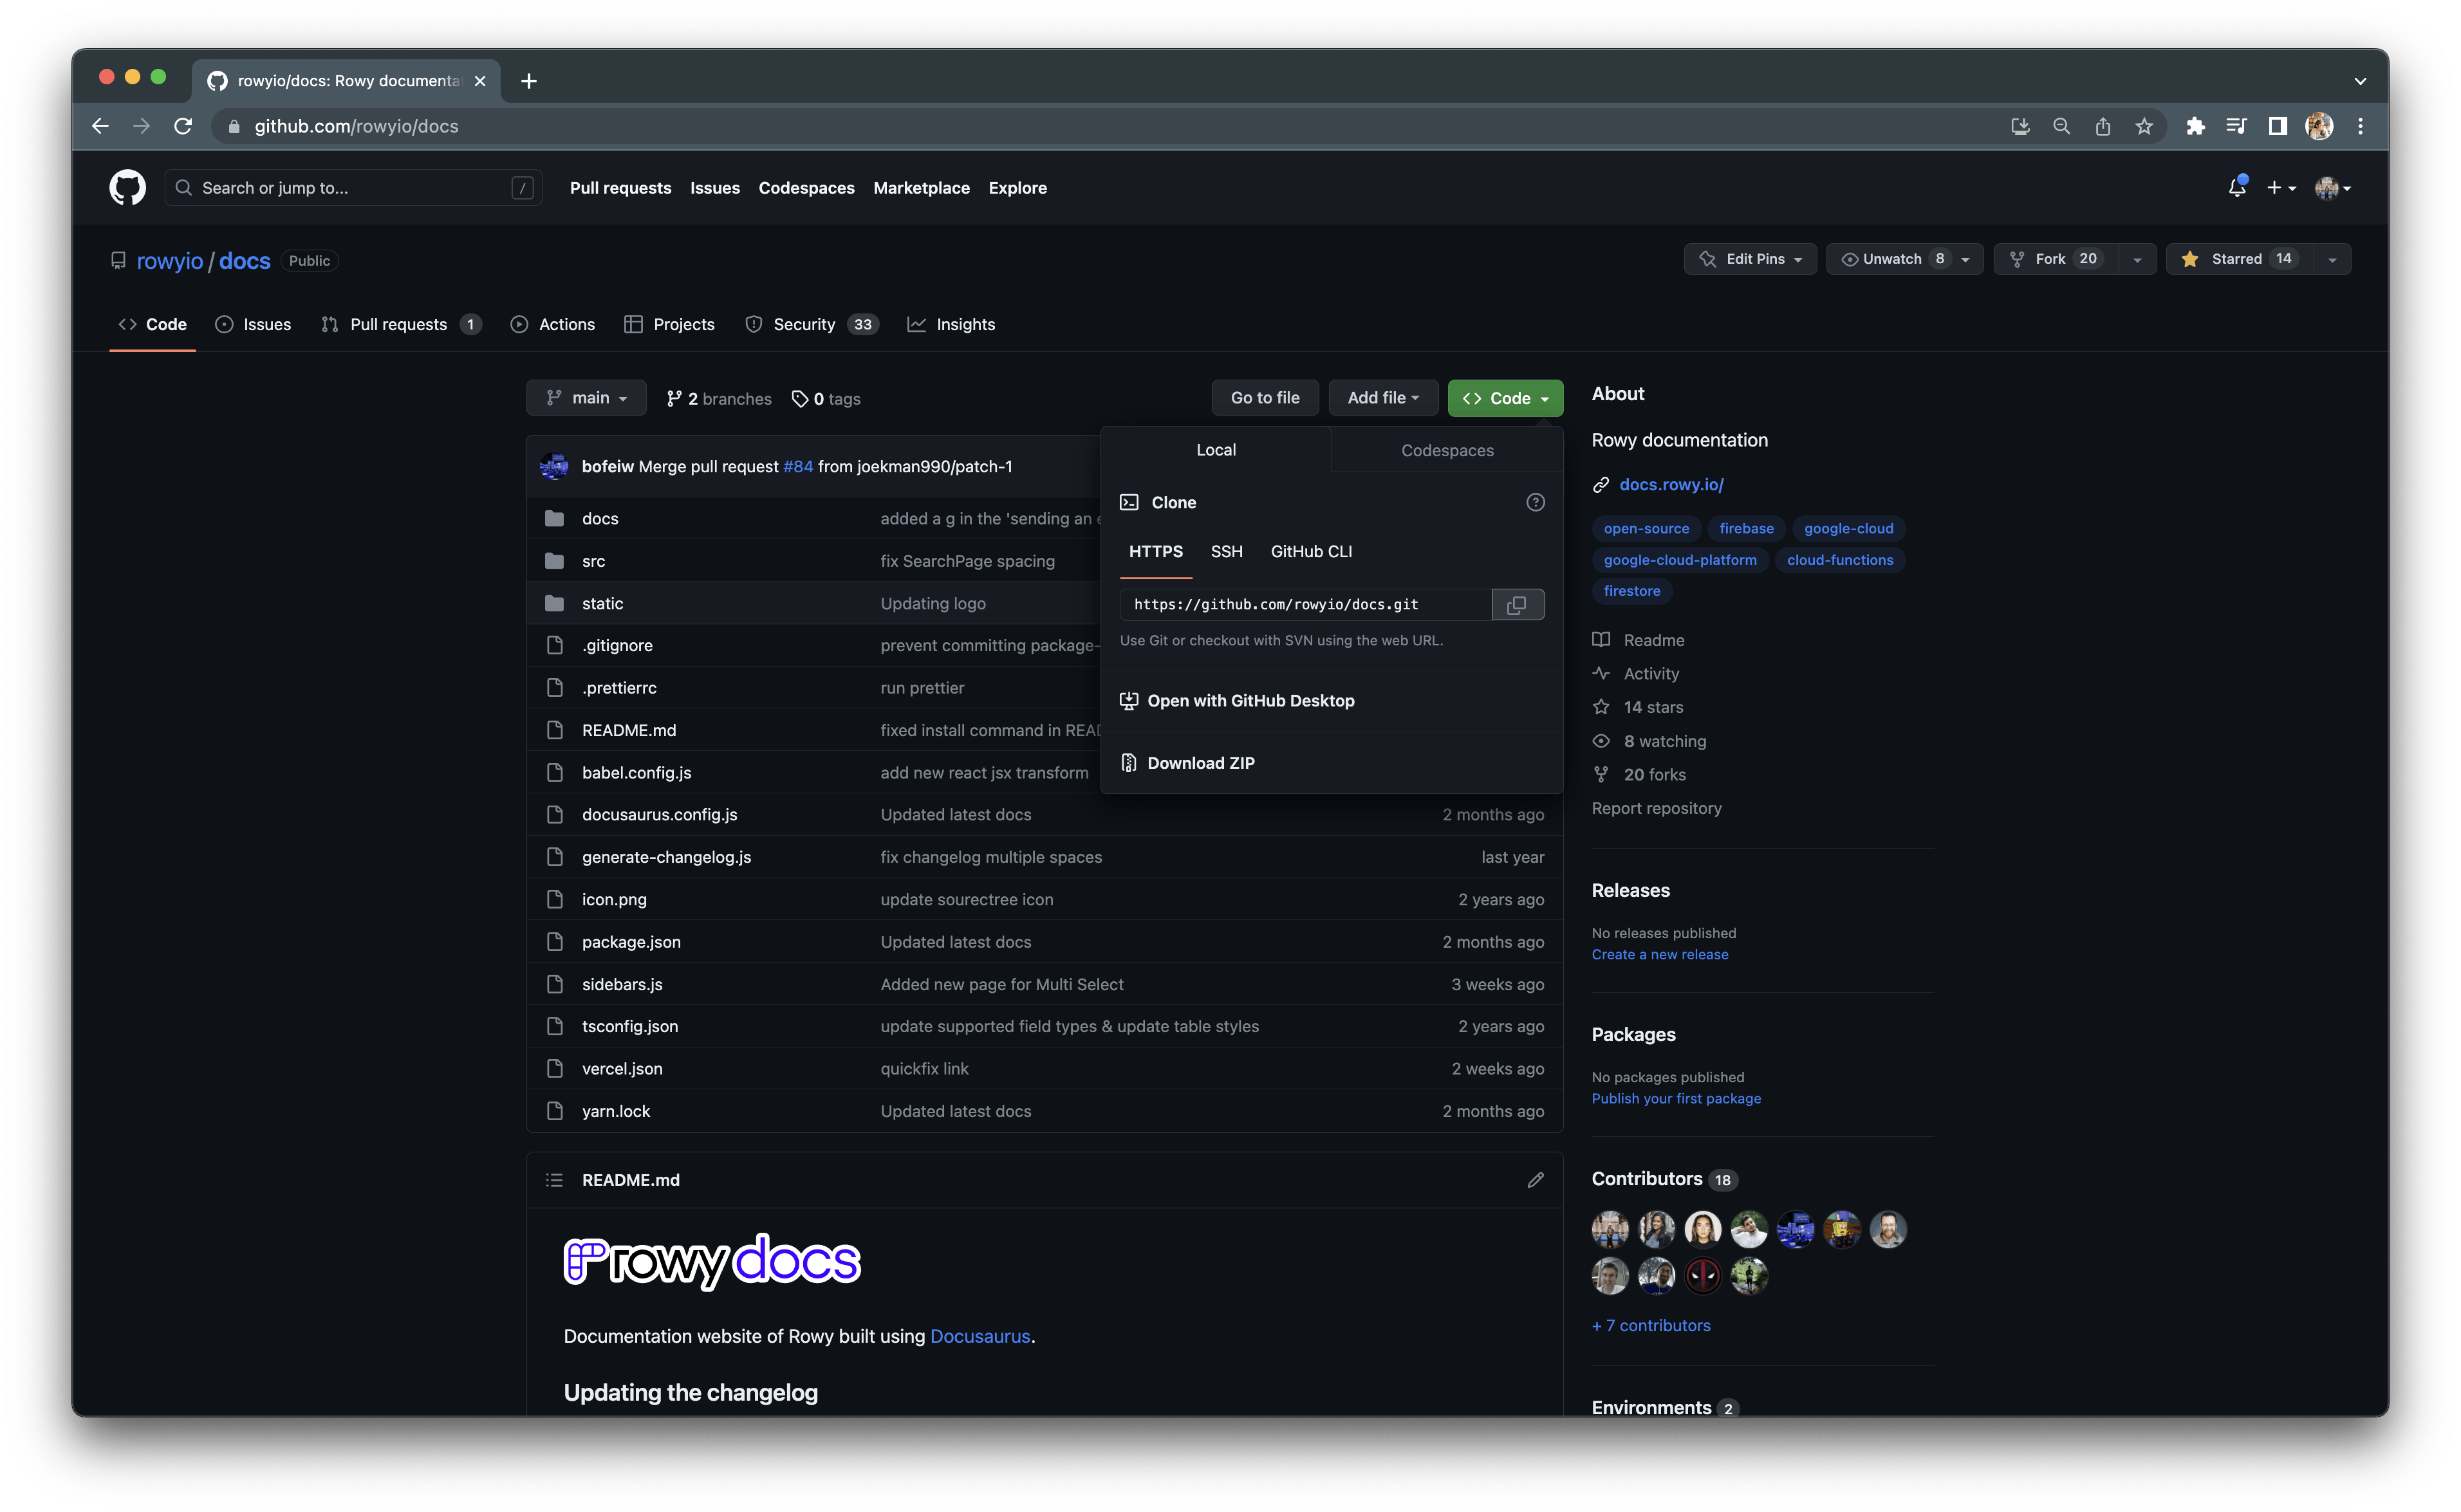
Fork the repository: Fork the original repository to your GitHub account, creating a copy under your control.

Clone the repository: Clone the forked repository to your local system using the clone URL provided by GitHub.

Add remotes: Set up remote references to the forked repository (origin) and the original repository (upstream) using the following commands:
git remote add origin [Your forked repository URL]git remote add upstream [Original repository URL]

Create a new branch: Make a separate branch for the changes or features you want to add using the command:
git checkout -b [branch_name]

Stage and commit changes: Use
git add .to stage files andgit commit -m "commit message"to commit your changes with a meaningful message.Push changes: Push the committed changes to your forked repository with the command:
git push origin [branch_name]
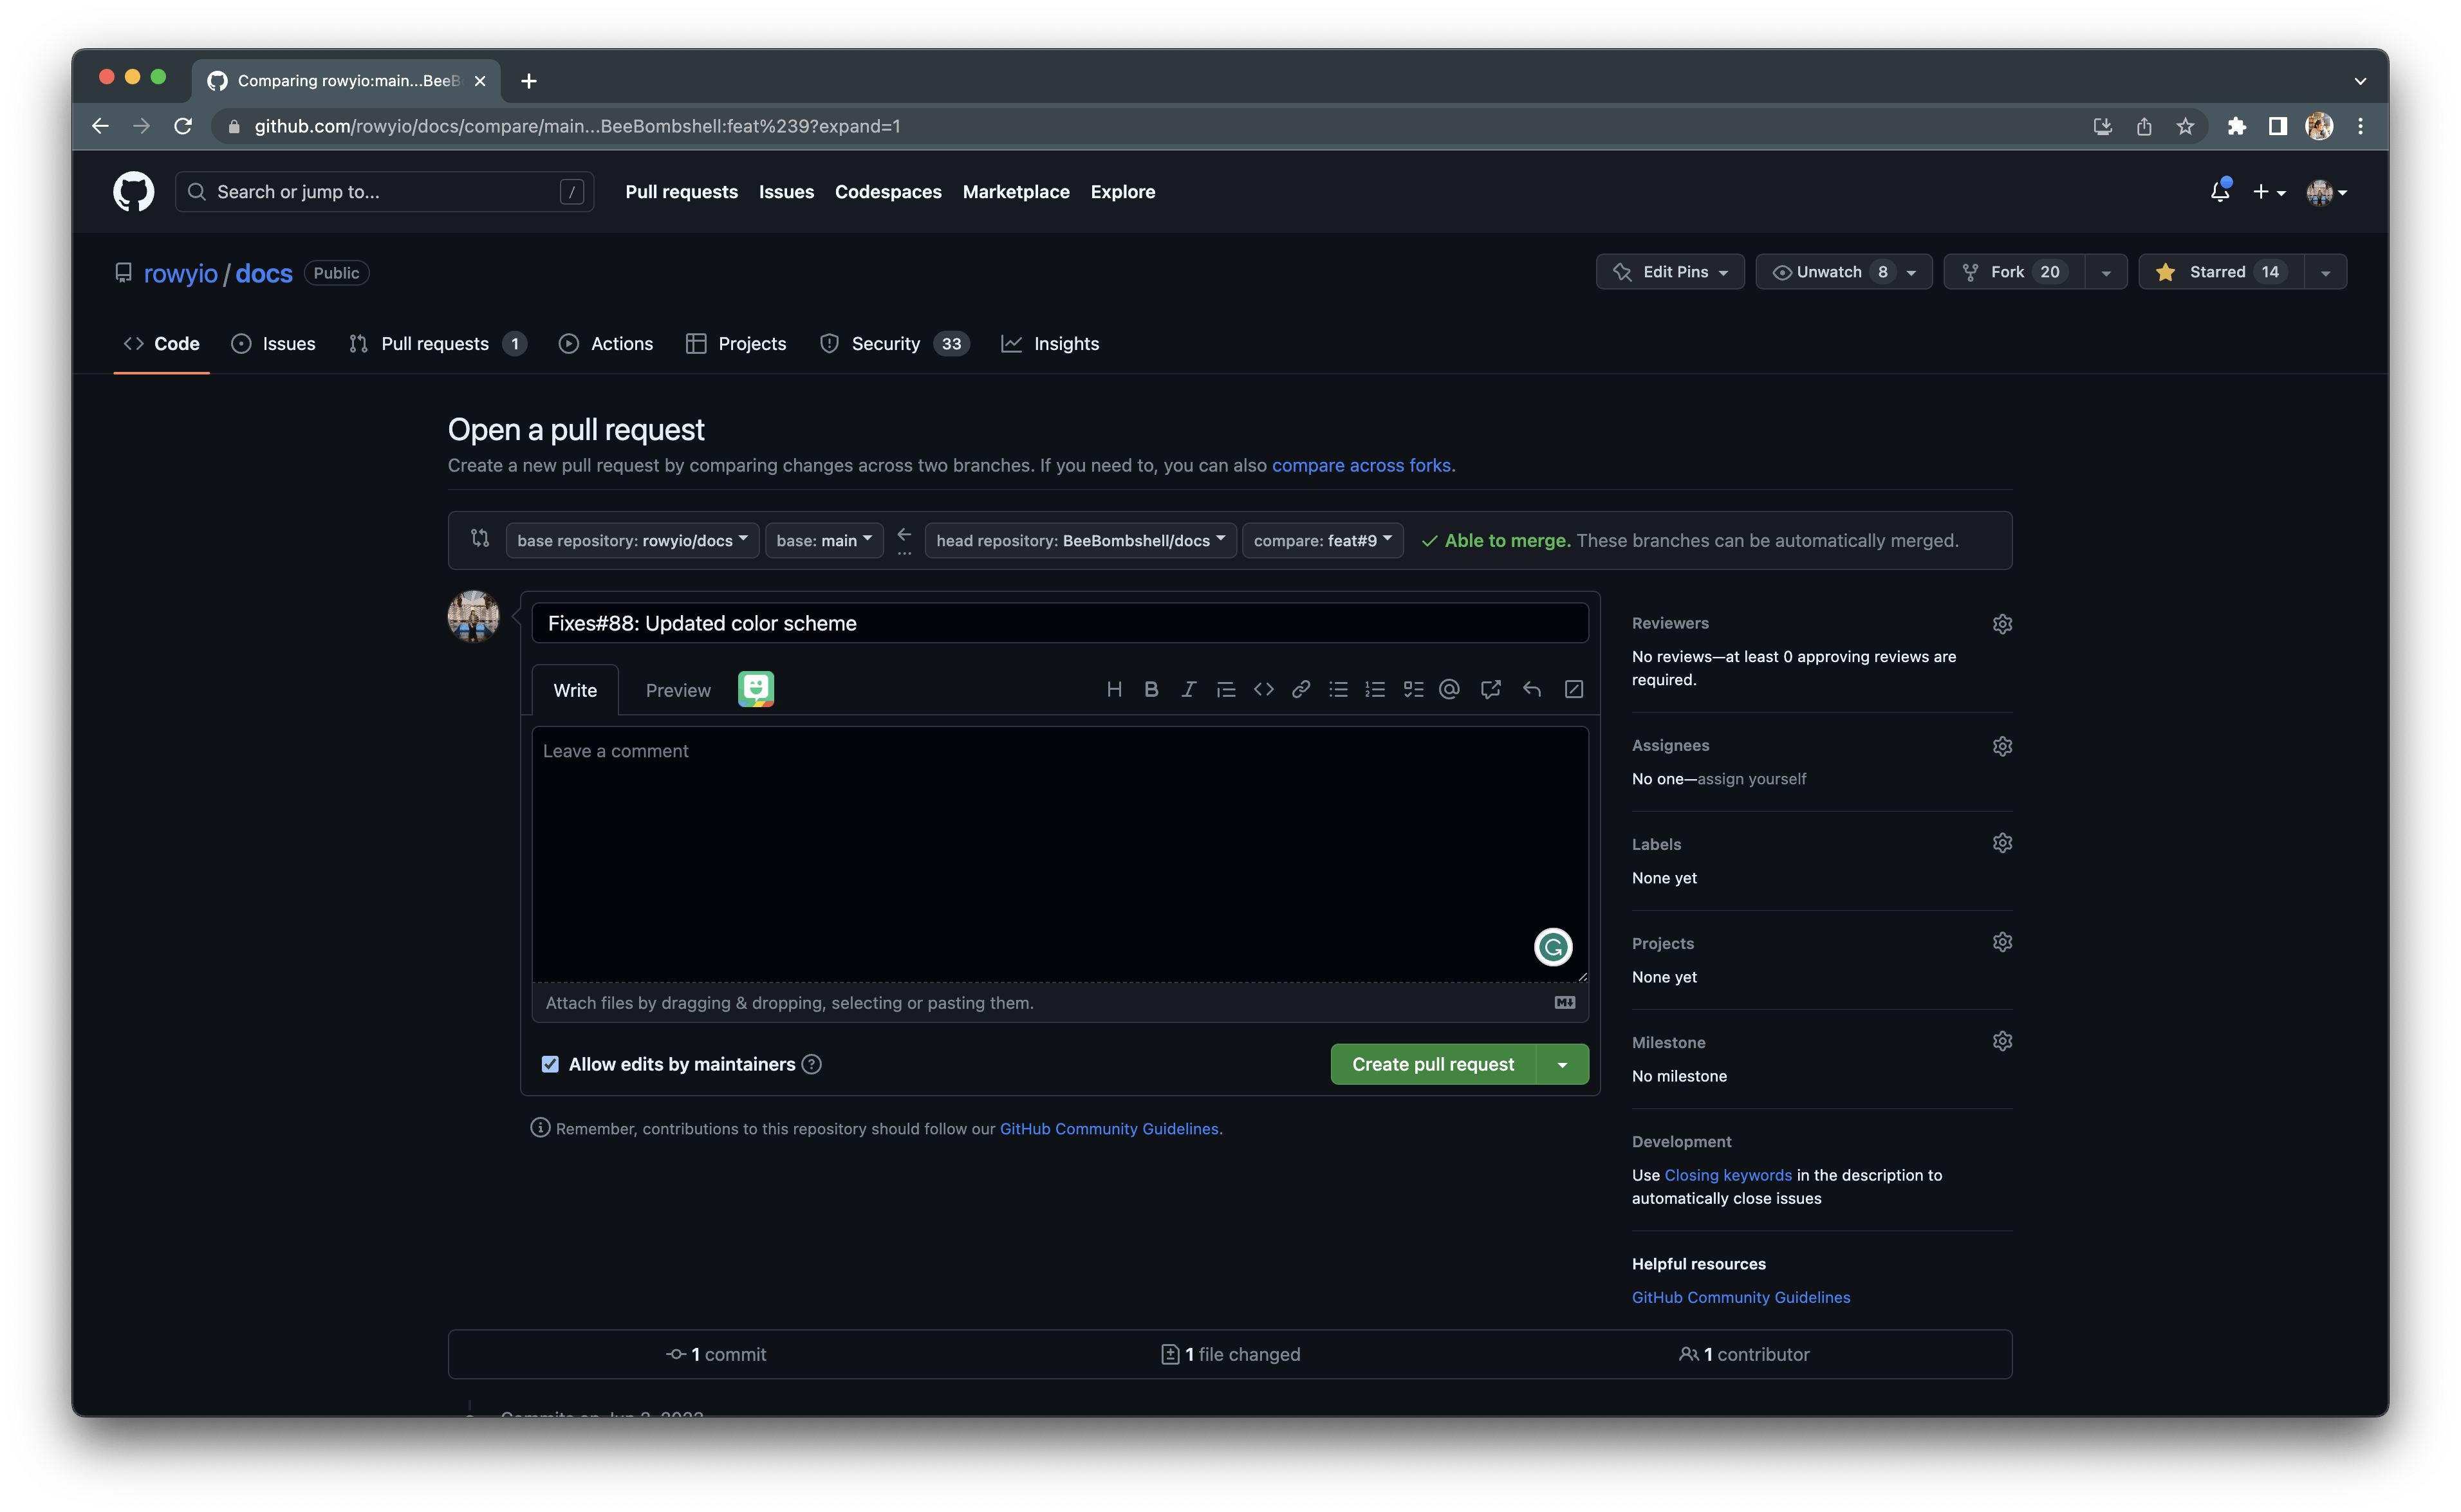
Create a Pull Request: Go to GitHub, navigate to your forked repository, and create a Pull Request from your branch to the original repository. This allows you to request that your changes be merged into the main branch of the original repository.

Creating a project from scratch 🌱
If you want to start a new project and manage it with Git, follow these steps:
Create a new repository on GitHub: Go to GitHub and create a new repository for your project. Note down the repository URL (HTTPS or SSH).

Set up remotes: In your project directory on the command-line interface, run the following command to add a remote reference to your GitHub repository:
git remote add origin [URL]
View remotes: To see all the remote repositories associated with your local repository, use the command:
git remote -v
Push changes: Once you've made changes to your local repository, you can push them to the remote repository using:
git push origin master

Branches 🌵
Branching is an essential feature of Git that allows you to work on different features or fixes simultaneously. Here are a few branch-related commands:
Default branch: The main or master branch is the default branch where the stable code resides.
New feature branches: Create new branches for new features or bug fixes using the command:
git checkout -b [branch_name]
Merging branches: To merge a feature branch into the main branch, use the command:
git merge [branch_name]
Resetting the main branch: To reset the main branch to the original repository, execute the following command:
git reset --hard upstream/main
Keeping the main branch in sync: After resetting, push the changes to your forked repository's main branch using:
git push origin main
Merge Conflicts and Squash Commits 🛠️
Merge conflicts may arise when Git cannot automatically merge changes from different branches. To squash commits into a single commit, follow these steps:
Use the command
git rebase -i [commit_id], replacing [commit_id] with the commit ID before the first commit you want to squash.An editor will open, displaying all the commits you want to squash.
Change the word "pick" to "squash" for all the commits you wish to squash. This merges all the squash commits into one.
Add a commit message, save, and exit the editor. The commits will be merged into a single commit.
Fetching and Pulling ⚓️
To keep your local repository up-to-date with the remote repository, use the following commands:
git fetch --all --prune: Fetch all branches from the remote repository and remove deleted branches.git reset --hard origin/main: Set the main branch to the remote main branch.git push origin main: Push the changes to the remote repository, ensuring your local repository is in sync with the remote repository.
Level up Your Coding Game: Keep Calm and Commit On! 💯
Utilizing the power of Git and GitHub can significantly enhance your project development workflow and protect your hard work from unforeseen errors. By following the tips and commands outlined in this quick reference guide, you can confidently manage your source code, collaborate effectively with others, and ensure the integrity of your projects.
Thank you for reading so far! 💜 If you have any questions or just want to connect, find me on Twitter and LinkedIn. Remember, continuous learning and improvement are essential in the world of coding. Stay curious, stay motivated, and most importantly, Happy Coding! 🎯
